Below are some frequently asked questions and detailed answers about K-pop photocards that you might find helpful:
What are K-pop photocards made of?
Official K-pop photocards from top entertainment companies in Korea are usually made of high-quality photo paper. They are durable, non-bendable, don’t fade, and maintain sharp, vibrant images—making them valuable collectibles for fans.
However, many unofficial photocards on the market are made from thinner, lower-quality paper with blurry colors. These can be confusing for fans and are sometimes sold at high prices—especially if they feature popular idols.
To make sure you’re buying high-quality, official K-pop photocards, it’s best to shop directly at official stores or from certified distributors. If you’re buying online, always check reviews, seller info, and ask for real product photos before purchasing.
What are K-pop photocards used for?
Photocards have become an essential item for K-pop fans. They’re more than just bonus items in albums—they carry deep emotional meaning. They represent a fan’s love and support for their favorite idols.
While entertainment companies might use photocards to boost sales, raise member visibility, or engage fans, what truly matters is the connection these cards create between fans and artists. Fans take pride in owning them and see photocards as a unique expression of their loyalty and affection.
So, photocards aren’t just physical items—they’re symbols of passion and community within the K-pop fandom. They also help management companies show appreciation and strengthen bonds with fans.
How much do K-pop photocards cost?
Aside from the question “What is a photocard?”, fans are often curious about their price.
Photocard prices vary greatly depending on several factors. Fan-made photocards are generally affordable—ranging from a few cents to a few dollars depending on quality, condition, and rarity.
In contrast, official photocards—especially limited-edition or rare ones—can be significantly more expensive. Some may cost tens or even hundreds of dollars, depending on the artist and the card’s scarcity.
Thanks to modern printing services, creating your own photocards has become easier than ever. You can select your favorite idol photos and have them printed to create your own personalized cards. This allows fans to express their creativity while saving money compared to buying official cards.
Important tips when collecting K-pop photocards
To avoid risks when buying or using official K-pop photocards, keep these tips in mind:
- Carefully check the card’s info and quality before paying. Look for durability, image sharpness, and material to confirm authenticity.
- Buy from trusted and reputable sellers. Research the store, website, or supplier thoroughly before making a purchase.
- Avoid asking someone inexperienced to buy cards on your behalf. This can help prevent scams or receiving low-quality items.
These tips will help ensure that your photocard collection remains genuine, high-quality, and meaningful.
How many photocards do you own? After more than a decade, these collectible cards are still incredibly popular in the K-pop fan community. So, what exactly is a photocard, and why do K-pop fans love them so much? Let’s take a closer look!
What is a photocard in K-pop?
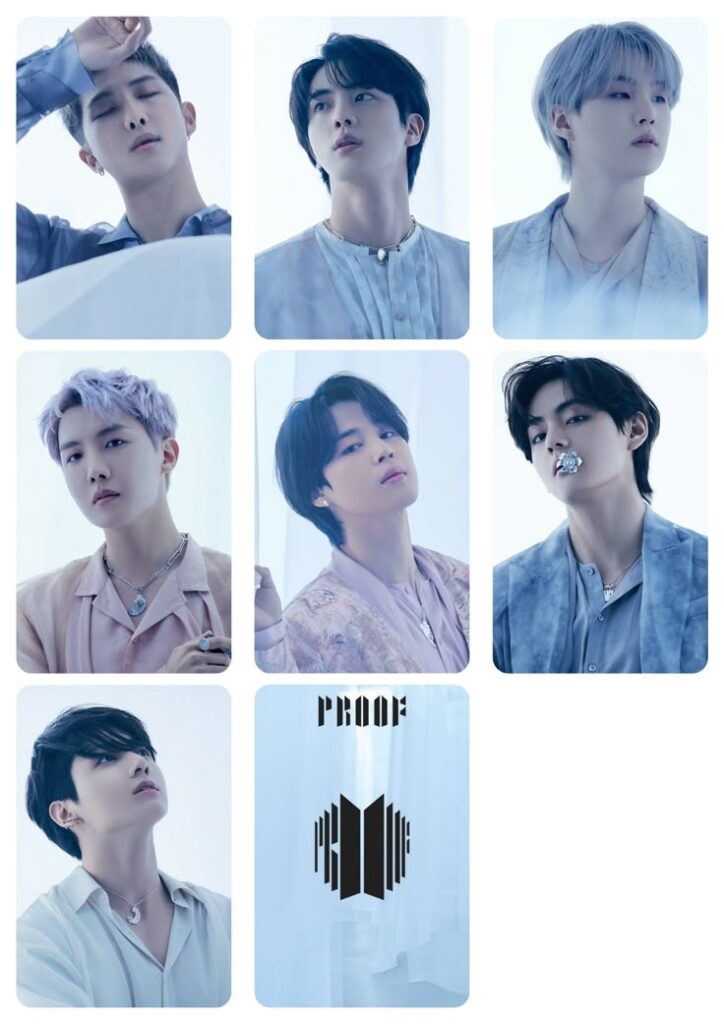
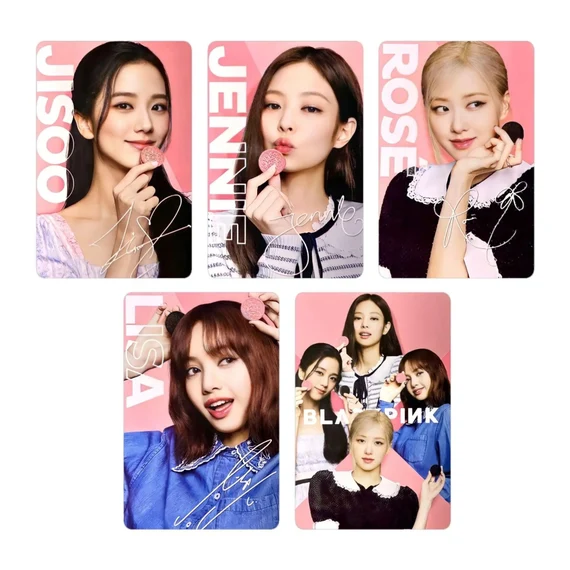
A photocard is a small printed photo of a K-pop idol, often with rounded corners. These cards are usually included as bonus items in K-pop albums. The rounded design gives them a polished look and has become the standard for most K-pop merchandise today.
Photocards have become a big part of Gen Z and Gen Y idol fan culture. Each album typically includes one photocard of a random member. Some groups even release limited edition albums with rare or special photocards.
However, not all fans get cards of their favorite members. This leads fans to trade or buy cards through online forums and social media. Those with large or rare collections are playfully called “photocard warriors” or “card masters.”
Today, fans can even custom print their favorite idol photos into photocards, thanks to advanced printing services. But the most prized cards are still the official ones—called “official cards” or “off cards”—which come directly from albums or the idol’s management company.
Besides collecting, fans often use photocards to decorate their spaces, give as gifts, or include in fanmade projects.
Where did photocards come from?
Photocards started gaining popularity as K-pop grew, and they’ve remained a fan favorite ever since. Each physical album usually includes a photocard of one member. Some companies even offer limited edition albums with exclusive cards.
Because the cards are randomly included and sometimes rare, fans often trade or buy them to get the ones they really want.
In 2010, SNSD (Girls’ Generation) released their second full-length album Oh! under SM Entertainment. Unlike earlier albums that only came with a CD and a few pictures, this one included individual member photocards—a groundbreaking move at the time.
These cards quickly became a hit with fans and caught the attention of K-pop lovers everywhere. Whether the goal was to boost sales or increase visibility, it sparked a new trend in the industry.
Since then, other entertainment companies have begun adding photocards to their albums, making them a standard feature of K-pop releases.
Today, some companies even release special or limited edition photocards separately from albums to meet the high demand from collectors.
Why do K-pop fans love photocards so much?
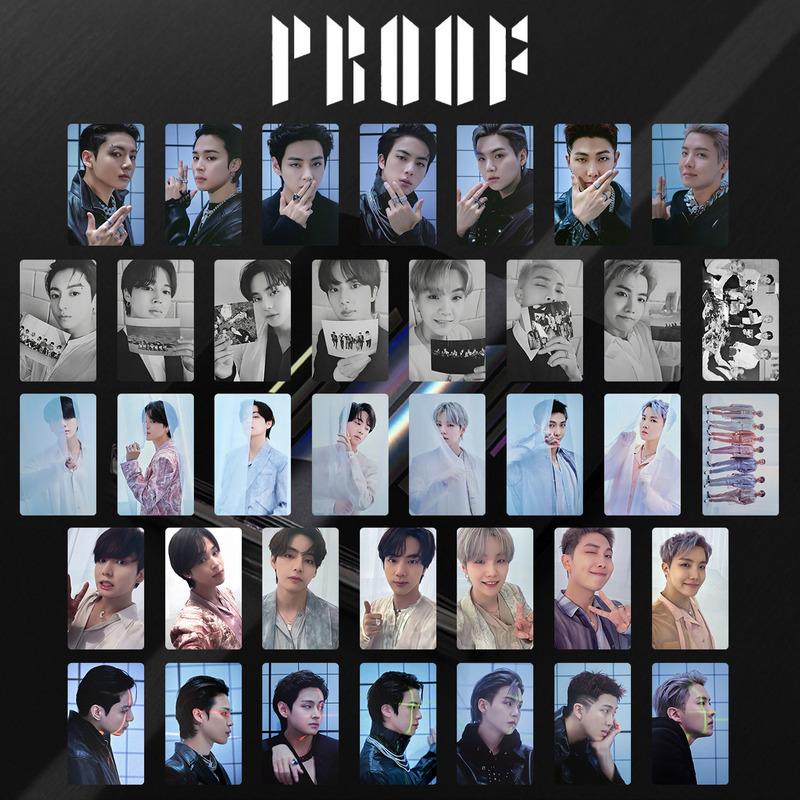
Because photocards are random, collecting them becomes fun and exciting—like a game. Some cards, especially those with popular members, can become even more valuable than the album itself.
To increase sales and attract collectors, many companies release multiple versions of the same album, each with different sets of photocards. This encourages fans to hunt for their favorite idols and adds to the excitement of being a K-pop fan.

- Pinterest
Pinterest is an image-sharing website founded by Ben Silbermann in 2009, currently managed by Cold Brew Labs and funded by a small group of entrepreneurs and investors.
There are many free image-sharing sites, but I especially recommend Pinterest for office workers looking for creative ideas because it’s more than just pictures. It’s a kind of social network dedicated solely to images, full of ideas, posts, quotes, and more.
Pinterest users create and manage collections of images based on different themes, such as events or interests. They can browse others’ collections, pull ideas from them to their own boards, or simply like pictures to increase interaction.
Pinterest can connect with Facebook and Twitter and be embedded into personal websites. You can create a Pinterest board and share it with your team. This helps you and your colleagues collaborate better and share ideas, making creativity more aligned.
Every day, you can browse Pinterest and pin images related to your office work into your collections. Or you can create boards like Motivation, Marketing, Business, etc., so you can quickly find creative ideas without wasting time searching. - Think with Google
Think with Google is a relatively new tool that many office workers don’t know about yet. It can be considered a goldmine for planners and strategists. The site offers many useful resources to help you achieve your goals and work smarter.
As the name suggests, Think with Google is a Google product that uses Google’s own data to support digital content creators. It’s available in Vietnamese (both the website and newsletter), making it perfect for office workers looking for creative ideas.
If you work in fields that require frequent trend updates like marketing or business management, Think with Google will be a powerful tool.
I usually subscribe to their weekly newsletter and customize location and interests so I only get information related to the Vietnamese and Southeast Asian markets and trends, linked to my main field of work. - Reddit
Founded in 2005, Reddit now hosts over 100,000 active community forums. Each individual forum has unique ideas that can be very helpful for both your business and personal needs.
Reddit users tend to be funny and especially tech-savvy. Even the dullest office topics—like how to fix the blue screen error—can make you laugh. The site’s meme collection is very special and can instantly relieve office stress.
It may take some time to filter information and find the right forums for you. But after that, Reddit’s algorithm recommends quality posts based on your browsing history. Once you get used to it, you’ll likely become addicted to Reddit!

How to make stickers using double-sided tape
You will need: double-sided tape, single-sided clear tape, a pen, scissors, and paper. First, draw the design you want for your sticker on the paper.
To protect the sticker surface, stick a layer of clear tape over your drawing. On the back of the sticker, apply a layer of double-sided tape, so when you want to use it, just peel off the protective layer and stick it wherever you like.
Finally, cut out the sticker following the shape you drew. When ready to use, peel off the backing from the double-sided tape and stick your sticker onto any surface you want to decorate.
How to make stickers using a printer
If you have a printer at home, you can easily make professional-looking stickers. You’ll need: a printer, sticker paper (which has one adhesive side and a plastic protective coating on the front), and scissors.
First, design or find the sticker images you want. Then print them onto the sticker paper. Printing stickers is quite simple—just make sure to check the printer settings and paper size before printing.
After printing, cut out your stickers into the desired shapes. When using them, simply peel off the backing and stick them onto a flat surface for decoration.
How to make stickers from images in books and magazines
Making stickers from pictures in books and magazines is a very simple way to create attractive paper stickers. If you have old books or magazines with cute images, cut out the pictures in any shape you like.
After you have your paper stickers, you can make the adhesive yourself using gelatin as described earlier, or stick double-sided tape on the back.
If you only have clear tape, here is what you can do: stick a layer of clear tape on top of the cut image, making sure it covers the whole surface and extends slightly beyond the edges. Then trim the tape along the shape of the sticker, leaving a little edge so it can stick properly. Your sticker is ready!
How to make stickers using clear tape
Making stickers with clear tape is very simple. You need clear single-sided tape, white paper, scissors, and a printer. Choose the sticker image you want and print it on white paper.
Next, cut out the sticker design neatly. Cover the sticker with clear tape and press firmly so the tape sticks well to the paper. Then soak the sticker in water and gently rub off the white paper layer. The sticker will be the image stuck to the tape. Finally, you can stick your homemade sticker onto any surface you want to decorate.
- Come up with ideas for your stickers
Before making stickers, the first thing you need to do is decide on the theme and ideas for the stickers you want to create. This is an important and personal step. If you are making stickers for brand promotion, you should pay special attention to this part. Here are some suggestions to help you come up with ideas:
- Determine the purpose of your stickers. Are they for decorating personal items, gift wrapping, or advertising?
- If you want to create stickers to “connect” with a person or a group, research their interests and characteristics to make suitable stickers.
- For advertising purposes, consider adding your logo or slogan to increase brand recognition and recall.
- For commercial stickers, study current trends and customer preferences to attract attention and achieve the best results.
- You can also ask for feedback to ensure your ideas are suitable or meet specific requirements (if any).
- Sort and cut the stickers according to the desired shapes
After finalizing your sticker ideas and creating the designs using various methods, organize the stickers by theme or shape to make cutting easier. Then, cut the stickers into the shapes you want.
If you’re making stickers at home, you can use scissors, craft knives, or specialized cutting machines. Use a pencil to mark cutting lines on the sticker surface to avoid cutting mistakes. After cutting, check carefully to make sure the stickers are neat and perfect. - Finish and use your stickers
Once your stickers are complete, sort and store them separately. Besides making the stickers, you should also pay attention to how you store them to maintain the color quality and the adhesive backing. When ready to use, simply peel off the protective layer from the adhesive side and apply your sticker.
If you’re someone who enjoys DIY crafts or collecting photocards, then top loaders probably aren’t new to you. But what exactly are they?
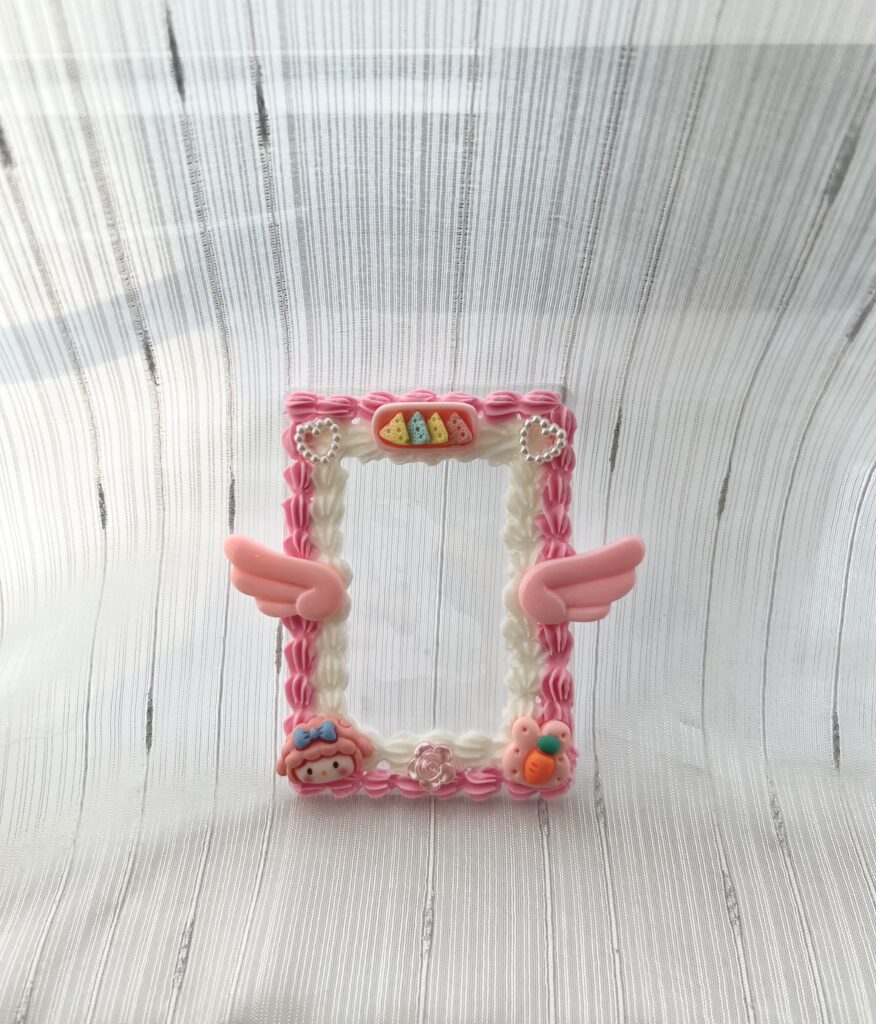
Top loaders are clear, hard plastic sleeves that open from the top. Originally made to protect trading cards—like K-pop photocards or anime-themed game cards—they’re strong and reliable, keeping your items safe from bending, dust, and scratches.
These days, top loaders have grown in popularity across fan communities—from K-pop and Webtoons to anime lovers. But they’re no longer just plain, protective sleeves. People now decorate them with stickers, keychain charms, whipped cream glue, and more—turning them into eye-catching mini photo frames full of personality. There’s no rule: you can decorate them however you like, in your own style.
In countries like Vietnam, Japan, Korea, and China, top loaders have become so popular that some cafés and studios even host workshops where fans can come together, decorate sleeves, and share their creations. It’s a fun and creative way to relax, relieve stress, and connect with friends.
If you haven’t tried decorating one yet—why not give it a go?
Hello everyone! This is my first blog, so there might be some mistakes. I hope you’ll understand and support me!